Showing posts with label visual supports. Show all posts

Friday, August 13, 2021

Easy Interactive Books

My friend Bev came up with this brilliant idea years ago.  I didn't need it for a number of years, but last year I had several students who benefitted from having more interaction during their story time.

We simply took an inexpensive paperback book and cut it apart.  Next we ran the pages through the laminator.  We then took a targeted vocabulary word from each page and created a Boardmaker document with a picture. Next we used the hole punch binding tool that we have in our teacher workroom to bind the book back together.  Finally, we used velcro dots to make each page interactive.

This has been a great way for us to create inexpensive interactive books for circle time.


Monday, January 25, 2021

Temporary Quarantine

Our district has had a plan in place in case we had to have specific classes quarantine.  I was hoping my class wouldn't have to do this, but alas, we had a direct exposure and we were moved to remote learning for our quarantine period.

I searched for social stories to help my students understand what was happening, but didn't find one that directly supported our situation.  I adapted Going Back to Distance Learning from Autism Little Learners to create one that made sense for our situation.

I also made some simple visuals on our calendar to help the students see how many more days of zoom lessons we would have and when we would return to school.  


Saturday, September 12, 2020

Covid19 Adjustments for Preschool Housekeeping Center

 We have just finished our first two weeks of school with all of our new re-opening policies for safety, disinfecting, and social distancing.  It's tough!  Last year I started my preschool special needs class with 15 students and ended my year with 17.  This year with all of our new policies, I am so thankful for lower numbers.  We currently have 7 children in the classroom and 4 remote learners that I teach concurrently through zoom lessons for circle time, small groups and therapies.

My last post showed the adjustments we made for our block center.  This center worked great from day one!  The reduced choices, the reduced visual "clutter" by removing the ABC rug, and simple visual supports from the painters tape and Lesson Pix symbols really helped this center to be successful.

Our housekeeping center is functioning well after two weeks of adult support.  Remember, my district has a policy for limiting shared materials, disinfecting after each use, all students must wear masks, and we must attempt to social distance to the best of our ability.  The housekeeping center isn't great for social distancing!  The kids naturally want to play together and be in close proximity.  Most years, this is exactly what we are hoping for, however, as we all know, this year is a bit different.  I wanted the kids to continue to have opportunities for pretend play and natural conflict resolution, but I still have to adhere to my district policies.

We decided to remove the small table and chair set that we typically would have in the housekeeping center.  This created more floor space for distancing.  We also removed many of the props including all of our dress up clothes.  We decided to limit the center to 2 children (typically we would have 4 children playing here) and set up the center as a "store" for our first few weeks.  We have two shopping carts, two cash registers, two sets of keys, and sets of food.  We have enough these categories of toys to either disinfect quickly after each use or rotate toys with our rotation system.


It took a LOT of support initially and I still don't love it.  But at this point, I have not figured out a different way to provide the students with the play opportunities and adhere to the district guidance plan.  So I can live with it.  The students are playing, they are talking and solving problems through the "trade" solution, the "timer" solution, and the "wait and take turns" solution.  Our "solution board" visuals can be found for free at the CSEFEL site under their practical strategies section.  I'll show photos of this in another post!  At this point in time, I feel like this option is at least allowing us to continue with developmentally appropriate play and natural opportunities to work on our social emotional goals.

Saturday, August 29, 2020

Covid19 Adjustments for Preschool Block Center

 As I was setting up my classroom this year, I felt as if I were a beginning teacher.  There were so many new issues to think about and plan for.  One of the things that was central to my planning was figuring out a safe way for my young pre-k students to continue to have opportunities to play!

In my district, any child over the age of two must wear a mask when on a school campus.  My students are all ages 3-5, so this includes my class.  We also are required to meet social distancing requirements to the greatest extent possible.  This was the biggest challenge in planning my center time this year.

I have referenced the TATS site, my district's guidance plan and of course my knowledge of the benefits of visual supports and the importance of developmentally appropriate practice.  My students start Monday, so this is not kid tested yet!  I may come back next week with a new plan.


In previous years, I had a colorful ABC carpet in this center and would typically have enough materials and space for 4 children to play productively.  This year I rolled up the carpet and am storing it because I felt like it would be too visually distracting.  We have reduced the amount of blocks and supplemental toys in the center and have reduced the center to two students.  I want the students to learn a new procedure of entering the center, so I wanted the visuals and the painters tape to be prominently seen. 

The materials in the center are two bins of lightweight foam blocks and some cars and trucks.  One child will be able to play on one side of the painter's tape while another child can play on the other side.  This is not supporting cooperative play, but at this moment, it was the best I could come up with and still meet the social distancing guidelines I must adhere to.

I chose the foam blocks over the unit blocks because I have a ton of them!  I also chose them because our toy storage rotation system is on top of cabinets and it will be much easier to lift the lightweight foam blocks than the heavy wooden unit blocks.  

My current plan is to only allow the two children who choose blocks to play with these toys.  When they are finished, they will go in a laundry bin to be sprayed with our disinfectant and then sit out of the rotation for 3 days.  If the student does not want to stay in blocks for the entire center time, he or she will be able to choose another available center, or chose a personal play bucket that we set up for each child.

I will post more pictures on the toy rotation system we are planning, other centers, and the individual play buckets later!


Thursday, June 11, 2015

Simple Visual for Change of Schedule

Sometimes students just need to "see" how the changes of a schedule will affect them.

During our standardized testing window, specials and lunch changed school-wide, which prompted a change in my reading and math blocks.  I had one student this year who mainstreamed for a large portion of the day, but she started her day with me to organize her schedule and any known changes, and then returned to me in the late afternoon.  Under normal circumstances, she knew when she would have time to "hang out with her BFF."

Although she is very bright, she didn't "see" when she was going to be able to have time with her best friend within all of our schedule changes.  This particular child is very high functioning on the autism spectrum and we have found that often writing things down helps her process information.  She was quite anxious about the multiple schedule changes and started to move into her "whiny" voice. This is usually a pre-cursor for more intense behavior (throwing books, tipping chairs, yelling), so if we can catch her during the "whine," we can usually prevent the major meltdowns.

I loved this intervention because it was "quick and dirty."  There is nothing pretty or fancy about it, but we completed it in about 3 minutes during our morning check in and it resolved her anxiety. When she started to whine about when she was going to have time with her friend, I simply asked her, "Would you like me to write down both afternoon schedules so you can see when you have time together?"  She said yes and then added her comments on when they could "hang out."

Quick and simple but very effective!


Saturday, May 30, 2015

Pre-K Again

As this school year draws to a close, our principal has sent out our "most likely" assignments for next year.  She calls them "most likely" because, as we all know, things can change over the summer.  If the needs of our students change, then staff assignments sometimes have to change too.

My "most likely" assignment for next year is back with the pre-k special needs population.  I'm ready for a change again, but I LOVE my school, so I didn't want to change that!  One of our pre-k teachers retired this May, so an opening came up at our school.  I love the language development and developmental play aspects of pre-k, so I"m excited.

I've started culling through some of my old pre-k files and rediscovered a blog from a pre-k teacher, Christi Seward in Cobb County.

She hasn't posted in a few years, so perhaps her teaching assignment changed or something else in her life changed, but she has a WONDERFUL collection of picture books with essential vocabulary and comprehension questions that she discusses.  She also has created many power points to support her lessons.

One of the books she highlights is "Bear Wants More" by Karma Wilson.


In addition to Christi's resources, there is also a YouTube read aloud with the book, too.  (This version is really sweet.  A boy received this as a birthday present and his family recorded him reading it out loud for the person who gave him the book.)


This has been a busy year and I haven't completed too many posts, but hopefully that will change this next year coming up!


Wednesday, May 6, 2015

Rainforest Riddles...So Fun!

My class has been working on a unit that revolved around a Rainforest theme.  I chose this particular theme at this time because:

a) Students are usually very interested in the Rainforest theme and can be easily encouraged to read and write.
b) We have an expository text on the Rainforest in our reading series and I am required to base lessons off of our core curriculum materials.  (So I would have to do this anyway.)
c) There are hundreds of free resources and extensions available online.
d) Our school was in the middle of FSA testing.  Although I don't have any students testing this year, the resource teacher next to me is testing every day which means my class needs to be close to silent for the entire morning block.  Brutal (for the kids and me.....so I held out the carrot....if we were super quiet in the morning then we could do some fun, noisy rainforest activities in the afternoon.)

One of my favorite things we did with the unit was to write our own Rainforest Riddles.  I found a free pdf from First Grade Hip Hip Hooray on Teachers Pay Teachers.  The set gives several rainforest riddles already written that the students have to solve.  It has a nice set of graphics for a simple read, then cut and paste activity.  Finally, it also includes graphic organizers to help students write their own riddles.

My class really loved writing their riddles "in secret" and creating their animal from pieces from our arts and crafts scraps/materials.  We then combined all of our animal creations to make a rainforest bulletin board.

Here's our bulletin board.  Sorry!  The picture is a bit fuzzy and I still need to add "forest floor" to our layers.


Below are some close up examples of the writing samples they did.  You can see the different levels within the writing samples, but this was an activity that all of my students could participate in.  I like these types of projects because it brings our class together as "a whole."


Sunday, August 31, 2014

Fair vs. the Same

This summer, I came across this visual on Pinterest. To me, this shows why we assess and plan for individual differences for our students.

What is FAIR is not always the SAME thing for everyone. At the beginning of the school year, my class has a meeting and we generate our class rules. We call these "agreements" (and sometimes for little kids I call them "promises.") The students agree to follow the rules we generate. Then my assistant and I make agreements with the class too. One of our most important agreements is to help make things fair.

I find the concept of fairness to be one that even my youngest three year olds could understand. When the adults promise to be fair, it sets the stage nicely for differentiating your lessons according to your data. When someone asks me why something is different for one person or one group, I simply reply "Because I promised you all that I would help make things fair; and you have what you need right now, and so do your friends."

Clearly the boy who is tall doesn't need a box to stand on (even if he wants one) and clearly the child who is the shortest needs 2 boxes if he is going to be able to see the game. What is fair, is not always the same thing for everyone.


My Pinterest link led me back to this post by Phil Artman. He found it on Facebook and could not determine the original writer.  If it belongs to you and you do not have a "noncomercial share alike" aspect to it, please leave a comment and I will remove the post.

Saturday, January 4, 2014

Writing Haikus

Way back in 2009, I worked with a friend of mine who is an SLP to devise a manipulative word bank to help my summer school students with autism generate their own sentences and write a simple paragraph.  It sounds pretty straightforward, but it was actually quite a bit of work for me because I had never had to provide quite that level of support for students.  You can read about it here.

This year, I used this strategy again.  While my current students, don't have the severe needs of the class I developed the system for, I thought it would be helpful for some of them.

We were working on a unit that focused on different forms of poetry.  One of the lessons for the general education students at grade level was to write a haiku.  I wanted my students to do this too.  So I stole some ideas from my general ed teacher friends and then added some supports to them.  Here is what we did:

1) Each student painted a background of mixed colors with yellow and orange.  My assistants and I used our Elison machine to cut out some "bare trees," spiders, and leaves.  The kids used the black shapes to glue a scene to their previously painted background.  (Sorry I don't have a picture of this! I'll see if I can update this with a "fake" one that I make so you can see what I"m talking about.)

2) As a whole group we looked at the pictures that were created and generated a word bank of words that described our pictures.  I wrote them on the board and the kids copied them.  We also reviewed the rules and syllable pattern for creating a haiku.


3) Two of my students were able to generate their haikus after completing these activities, others needed some more help.

4) I transferred the word bank to post it notes and put dots underneath each word to identify how many syllables the word had.


4) The students moved and manipulated the words to create a phrase that made sense and also fit the syllable pattern for a haiku.


5) When they finished writing their haiku, they read it to me and I typed it on the computer.  We printed their haiku and they used craft scissors to cut the edges of the paper the poem was printed on.  Then they glued their haiku to their picture and we hung it up for display!


When my general education team decided this was going to be one of the "published" pieces we would do for our quarter 2 writing grades, I was a bit worried.  Writing a haiku is very abstract.  I needed to find a way to teach the syllable pattern and the emphasis on nature to my students.  The art project and the post it notes (as well as previous experience with haikus we read aloud) helped them to successfully complete this! It's nice to be "pushed" into doing something that is a bit uncomfortable sometimes. (I never would have chosen haikus as a published writing sample.)   As a teacher, it made my brain stretch and think about how to make this lesson work with my students.


Wednesday, October 23, 2013

Dog's Colorful Day

My niece is expecting her first baby! Yay! So what's an aunt to do? Of course, I am cyber-stalking her "future mommy" page on Pinterest. I was so excited to see her pin and re-pin many felt board and felt play activities. So when it was decided that instead of giving a card at her baby shower, we would give her a children's book; I had to start thinking about which felt board books I loved so I could send her some felt play along with my book. One of my favorites is "Dog's Colorful Day" by Emma Dodd.


Dog has some very exciting, messy and colorful adventures throughout the day. The readers are encouraged to count and describe the spots that start to appear on dog's fur as the evidence of his adventures. For example, dog starts off with one black spot on his left ear, but after passing the painted door he now has two spots. One black spot on his left ear and one blue spot from the paint. The adventures continue throughout Dog's day.
My preschoolers loved interacting with this book with a felt board activity I made. As we read the book, the children would sequence the item that caused the spot on Dog at the top of my felt board in left to right progression. We would also add the appropriate spot to dog. At the end of the story, we put dog in the bath to get clean and then finally in his bed. This is a lesson the kids wanted repeated time and time again. They loved playing with the colors and the sequence of the story through the felt pieces.


Consequently, I got to have lots of conversations about colors, numbers and retelling stories through play. Isn't that the best?


 Photo credit:http://www.google.com/imgres?imgurl=http://heightslibrary.org/wordpress/explorastory/wp-content/uploads/2012/08/dogs-colorful-day.jpg&imgrefurl=http://heightslibrary.org/wordpress/explorastory/?attachment_id%3D887&h=648&w=520&sz=47&tbnid=FZAWTeo3zYglYM:&tbnh=90&tbnw=72&zoom=1&usg=__hMqMXyP36XSG5ETzjcMhWGHbaYo=&docid=xxOX9rSEuAhdaM&sa=X&ei=c1toUuvDIoq-kQeb2IGgAQ&ved=0CDsQ9QEwAQ

Sunday, October 28, 2012

Sight Word Writing


This sight word strategy is truly an example of how good ideas just keep getting passed along and how many children can benefit from one teacher's great idea.

I have two children who are in second grade and reading at an end of kindergarten level this year.  They need a lot of practice with phonemic awareness skills and sight word mastery.  At this point, they have been exposed to the district curriculum materials so many times; they really need something new.  I'm always keeping my eyes open for them.

A friend of mine who is a kindergarten teacher was telling me she uses this strategy in her classroom.  She got it from another teacher on her team, who in turn got it when she and a group of teachers were working on literacy centers.  Wow!  How many times has it been passed along?  How many kids are learning because of it?  I love that aspect of teachers sharing ideas!

It's very simple.  You take a piece of plastic window screen (can be purchased at Home Depot) and cut it approximately 10 x 13.  Then you use electrical tape to tape off the edges on both sides.  Finally, use a blank sheet of paper or a simple typed up sight word worksheet and some crayons so children can practice writing their sight words "bumpy style."

I have put this in some TEACCH task baskets for these two boys.  I'm also thinking of making some more and adding it to my Daily 5 Working with Words choices.

Wednesday, May 30, 2012

Tough Puzzle!


My class, my assistants and I have dubbed this the "hardest puzzle in the world."  It's not, of course.  But it IS a very challenging 750 piece puzzle.

I like to have a puzzle table with an ongoing puzzle set up in my room.  It's a nice anchor activity for my students when they finish work and it also lets me integrate some team building and cooperation conversations throughout the day.  It's also nice to hear the students start to compliment each other when they find pieces and the picture starts to come together.

This particular puzzle was intended to be finished by December.  We finished it the first of May!  There was a period of time when they students really weren't motivated or interested in going back to it because it was so hard.

I was stuck.  Do I take it down and start a new one or push through it?

Luckily, I have the most wonderful paraprofessionals in the world! One day one of them encouraged a student to go over and put one piece in "the hardest puzzle in the world."   He did and then was congratulated for helping us with the "hardest puzzle in the world."  That threw down the challenge and regained the kids' interest in the puzzle.  They started talking about finishing the "hardest puzzle in the world" and actually started to enjoy the challenge of it again.  The crazy thing had been up for so long in the classroom all kinds of pieces were now missing (which made it even harder!)

I'm glad we finished it (to the best of our ability with all those missing pieces.)  It gave them a sense of accomplishment and pride.  They even asked if I would take their picture by "the hardest puzzle in the world."  It also gave us some funny conversation and teasing....they asked me to "Please, never buy another puzzle from Goodwill."  :-)


Tuesday, April 3, 2012

Sight Word Strategy


I love strategies that are "quick and dirty" and cheap!  This is a simple strategy to have children practice one or two sight words that are giving them trouble.

Simply get a washable marker and write the word on the child's hand.  Make sure to write it so that the word faces the child when the child looks down at her hand. Now remind the child that every time she looks at her hand, she needs to read the word. 

This simple strategy gives the child numerous opportunities to target that word throughout the day.  She can practice it on her own.  She can read it in line to specials, she can read it in line from specials, she can read it in line to lunch, etc., etc., etc.  The beauty of it is that it not only prompts the child to remember her sight word, but it also quickly prompts staff to ask her to read the word.   It offers lots and lots of repetition within just one day!

And I have to tell you, it works.  For the life of me, I could not remember my PIN to check out books from the library and our school librarian forever had to look up my number.  The little girl whose hands are pictured here heard us go through it one day and she told me "If you can't remember it, you need to write it on your hand!"  Since I do it for my students, I figured, I'd better be willing to do it for myself, especially since she called me out and it was a situation that mirrored when I use the strategy for them!  Do you know, since then, I have remembered that crazy PIN?

If you are going to use this strategy, you will want to check with parents first to make sure they are okay with you writing on their child's hand.  You also want to make sure to ask the child's permission.  After all, you are writing on THEIR body and it IS pretty blatant. I would never want to use a  strategy that embarrasses a child.  Most of my students this year are okay with it, however, I have 2 students who tell me "no" they don't want me to write on their hands and I respect that.  For those students we don't use this strategy.

Thursday, January 5, 2012

Valentine's Activity: Hearts Everywhere

If you are in any way similar to me in how you plan lessons for activities you've seen online, you need some time to read about the idea, think about how you would use it with your group, prepare your materials and then implement it.  One of the teacher's on my team this year says he likes to let concepts have a chance to "marinate."  We've all adopted his lingo.  We like to let kids have the chance to have repeated exposure to concepts, but sometimes we also need some marinating time for ourselves. 

In an effort to give everyone some time to "marinate" the following ideas, I'm sending them out early (or really late considering I took the pictures last February!)

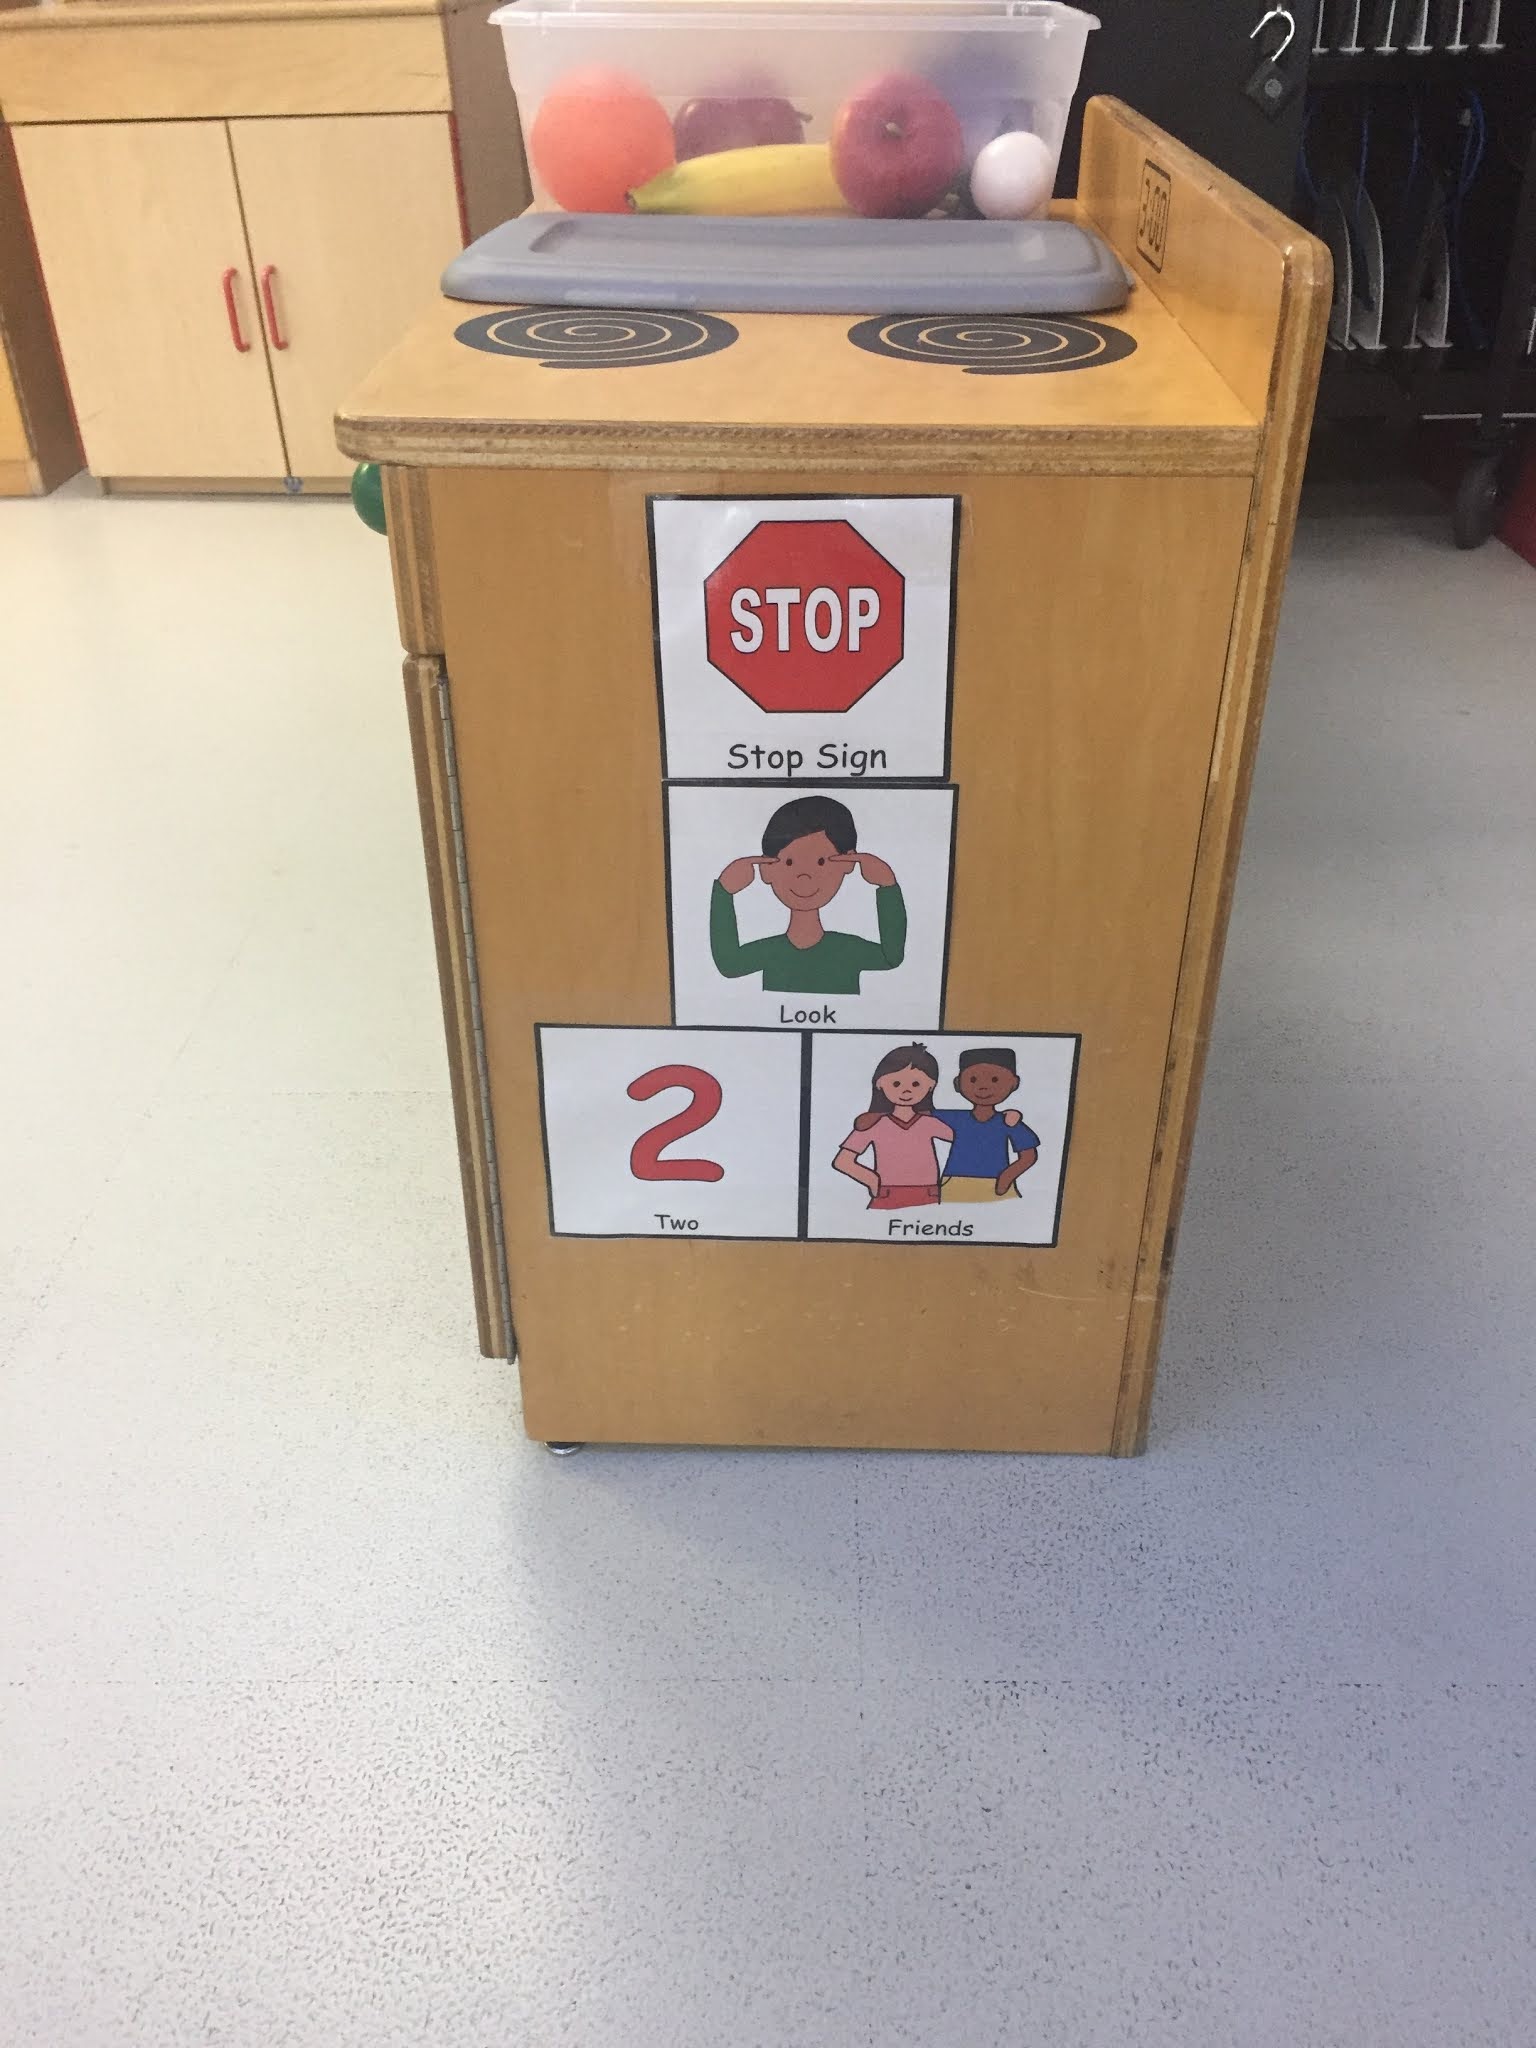
For my pre-schoolers that I've had in the past, this lesson focused on the positional concept "on" as well as identification of common objects.

I started with the interactive book, "Hearts Everywhere",  from the Jefferson Parish AAC link.  I would read the book to my class using the felt board and laminated hearts.  On each page, the students would take turns placing the heart "on" the object identified in the book.

After introducing the book and the vocabulary, the next day before the children came in the classroom, my assistant and I placed construction paper hearts all over the classroom.  During circle time, I would call a few students at a time to go "look for a red heart" and bring it back to the carpet.  When they brought their heart back, I would ask them where they found their heart.  Once they answered the question, we would place it on our chart and I would call the next group of children to go look. 

TIP:  If you are working with pre-school age children, be sure to write on the heart the location that you placed it.  For example, "on the fish tank."  When you have several children looking at the same time, it's easy to miss who picked one up from specific locations.  If you don't have several children looking at the same time, the waiting period gets to be too long for little ones.  And if you have students at levels similar to the students I have taught, when you ask the question, "Where was your heart?" you will inevitable get the answer "over there" a few times.  You want to be sure you can accurately prompt them to answer the question using the positional word "on" and the correct common object where it was.

I love activities that get students actively engaged.  These types of scavenger hunts always produce smiles, laughter and excitement.

Because of that I'm trying to think of a way I can adapt the activity to be appropriate for my current third graders.

I think I will connect it to our writer's workshop lessons.  We have been working on using more descriptive phrases in our paragraphs.  I am going to  place many hearts all over the room with their labels.  Have the students put their heads down with their eyes closed and give each student 10 or 15 seconds (one at a time) to go get a heart from somewhere in the room.  After they collect their hearts, they will describe where they found the heart, but they are not allowed to name the object.  Then they will read their paragraphs to their classmates who will need to guess where the heart was originally.

I'll have to let you know how it goes!  I'd love to see other ideas on how to use a scavenger hunt type activity to support academic goals for older students.  Please post your ideas in the comments section.

Friday, December 23, 2011

Reading Chapter Books

Yahooey!  Just before Winter Break, I introduced several of my students to reading chapter books independently.  Like anything else, we started small and built upon the skills that were already in place.

Since the beginning of the school year, we have spent 10-12 minutes each day with a chapter read aloud.  I don't test on it, we don't dissect the book, we don't go crazy if something happens and the chapter is put off until tomorrow.  My purpose in approaching it in this manner was to introduce books that were longer in length and to model reading a chapter book in small increments.  I wanted the kids to see enjoyment of reading a longer book.

When I felt a few kids were ready, I hand picked some beginning chapter books such as "The Fly Guy" and the "Frog and Toad" series.  This introduced the kids to the format of a chapter book but the length and the reading level was still relatively easy for them.


I finally then moved to books in series like "The Magic Treehouse" and "Cam Jansen."  In order to help the kids break up the book into manageable chunks and to also let them see their progress, I stole an idea from another teacher on my team. 

She shared that for some of her kids, she writes down which pages they have to read each night on a bookmark.  Since I am a big fan of post its and I have a lot of them, I used her idea on a post it.  I selected quite a few books and then asked the student to choose a book from my pre-selected group rather than the whole library.  After he/she selected the book, we went through the table of contents together to see how many chapters were in the book.  I then wrote each chapter number on the post it and gave it to them for their bookmark.  As they finished each chapter, they could cross of the chapter they had completed.

It has been working pretty well.  Two "bonuses" of this visual support is that it is 1) cheap, and 2) easy.  As the kids finish the books and successfully pass AR tests, their confidence is growing!  Hopefully, this will help to scaffold their "reading endurance" and help them continue to read longer passages and books successfully.


Sunday, April 10, 2011

National Geographic Website

My school is inundated with caterpillars right now. With so many natural, incidental learning experiences available, this is a perfect time to implement our life cycles unit.

National Geographic Kids has many great resources to also support this theme. Of course, in addition to bugs and butterflies National Geographic also has many other topics addressed too. Check them out!

Creature Feature: Monarch Butterflies

What in the World: Bugging Out!

Tuesday, February 1, 2011

Visiting Kindergarten: Social Story

It's the time of year when, in pre-k special needs classes, we begin to think about the process of transitioning children to kindergarten.

This year, there is a little girl in my class with an interesting combination of strengths and challenges.

She has a good cognitive skills and a good ability to learn vocabulary and concepts through incidental learning. She has a solid base of kindergarten pre-academic skills (she knows all of the letters of the alphabet upper and lowercase, she can count to 15, she can identify 11 colors and 6 common shapes. She knows many beginning consonant sounds, has an awareness of rhyming words, can read all of the names of the students in class and reads approximately 10 sight words.)

She gets overwhelmed with new experiences and has difficulty transitioning to new activities (especially if it is in a different location on campus). She still needs staff support for potty training. Her fine motor skills are significantly delayed and she still needs staff support for many tasks that include visual motor planning.

We have decided to try to specifically address an area of strength with an area that is a significant challenge for her while she is still in pre-k. She is going to start going to a shared reading and phonics lesson with a kindergarten class for approximately 20 minutes a day. Since she has good cognitive skills and she does not need any staff support in our pre-k large group circle time, we are going to try to balance this with the challenge of accepting a new experience. We are hoping that she will become familiar with the kindergarten building, the kindergarten classroom and the larger group of kindergarten students. We are also hoping that our pre-k staff can go with her for a short period of time and then fade away so that we increase her independence and comfort in the kindergarten classroom.

To help her prepare for this, we have drafted a simple social story (you can download a generic copy here.) about going to the kindergarten classroom. She has a copy at home that her family has read with her for the past week and there is a copy at school that classroom staff have been reading with her too. We have also started walking past the kindergarten room and having conversations about visiting kindergarten on Monday.

We're hoping by layering in the staff support and also building on her strengths, she will begin to feel comfortable and be able to learn new skills in the kindergarten class.

Tuesday, October 5, 2010

Cheap! Dinosaur Measuring and Science

In the current economy (and as far as being frugal and financially wise at any time!) I am always interested in lessons that can be enhanced as cheaply as possible.

My class has been involved in a inquiry based unit on dinosaurs for the past week. It seems to me that there are always easy ways to integrate language and literacy lessons in every unit, but sometimes it is more difficult to integrate math and science. Since this unit focuses on dinosaurs, science is not a problem either, but how can we integrate math concepts? Here's one idea we used.

I found these dinosaur figures at my local Dollar Tree. (Yes, it cost a whopping $1 for this lesson.)


I explained to my students that these dinosaurs were supposed to get bigger when we put them in water. We decided to measure them with a ruler, predict how big we thought it would get and then measure it after it grew.


Since I wanted to focus on some math skills, we made a big deal out of measuring the dinosaur. I left my finger on the number 4 after we measured and reminded the children that he should get "bigger." I asked them "How big do you think he will get?" as I ran my other pointer finger across the top of the ruler (showing them the most logical choices across the ruler.) They made their predictions as I recorded them and then we observed. The pictures show you where we are so far!


After we measure our dinosaur again tomorrow, we'll take him out of the water and predict what will happen. It will be interesting to see if any of the children will predict that he shrinks back to 4 inches (remember, that's where we started at our first measurement!)

Thursday, September 23, 2010

"Post It" Graphs

Here's a simple strategy that we use a lot in my classroom. I write each child's name on a post it. Then I write a question on a piece chart paper and usually add visual supports for each column of the graph. Below is a picture of our most recent graph:


I like to use the post it graphs for lots of reasons:

1) They help children learn literacy skills by reading their name and their peers' names.

2) They help children develop language skills by answering questions and making choices.

3) They help children develop task related skills and focusing skills because they are actively involved and then they physically get to place their own name on the chart.

4) They help children develop social skills by learning how to take turns and wait for their own turn.

5) They help children develop math skills as we count the number of votes in each column and discuss concepts of more, less and the same (equal).

6) They help children develop literacy skills by becoming part of our environmental print in the classroom.

7) They are quick and easy to prep for! That means I don't spend more time preparing the materials than it takes the children to actually engage in the activity.